Generating Gerber output

(Using Output File Format Standard RS274-X. Refer Help files to learn more about RS274D format)
Click Fabrication in the main menu and select Setup from the drop down list.
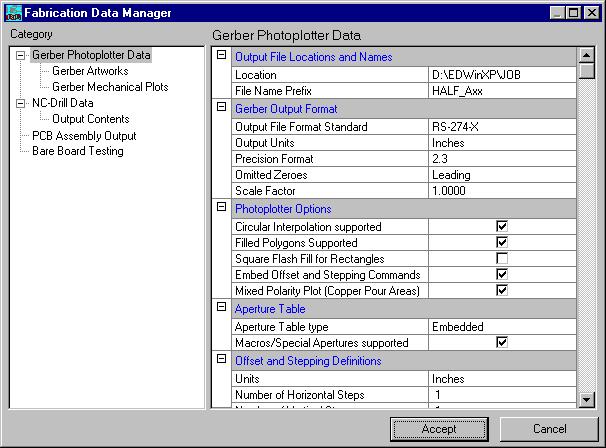
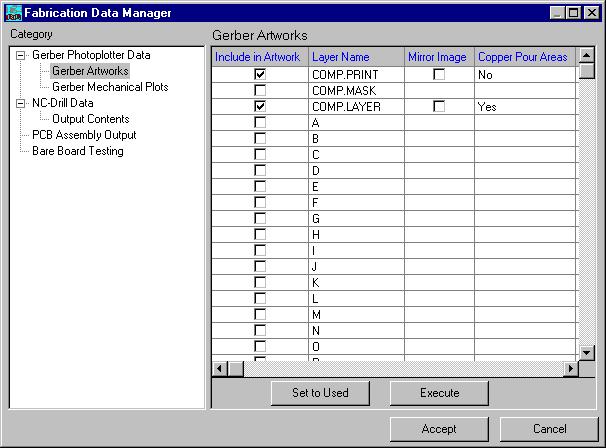
The Fabrication Data Manager window appears. Click on Gerber Artworks on the left hand side of the window. This window allows to set the layers to define Gerber Artworks. Click SET TO USED button and then click the EXECUTE button to generate the Gerber files for these layers.
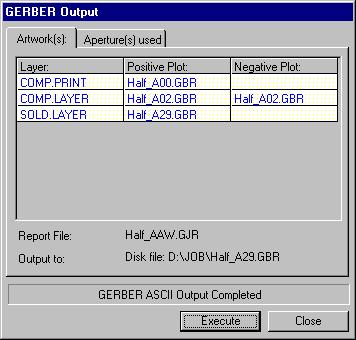
A Gerber Output window pops up showing the filenames of the positive and negative
plots corresponding to the component layer to be processed. Click EXECUTE.
A list of apertures (*.ALS) and corresponding report file (*.GJR) is generated.
Now click 
3 Files are generated
1. Half_A00.GBR - containing artwork of layer: COMP.PRINT
2. Half_A02.GBR - containing artwork of layer: COMP.LAYER [Mixed Polarity Plot]
3. Half_A29.GBR - containing artwork of layer: SOLD.LAYER
Select File | Gerber Viewer Setup from the main menu of Fabrication Manager.
The Gerber Viewer Setup window pops up. Click on the grid cell as indicated by the arrow in the picture below. Multiple select Gerber ASCII File (Half_A00.GBR, Half_A02.GBR, Half_A29.GBR) to be preprocessed. Click PREPROCESS button. The name of the artwork display file for each Gerber file is displayed in the right column. The preprocess operation begins. A confirmation message marks end of the process. Immediately a text file is displayed with the status of the files recently preprocessed.

After generating the artwork file, click on Gerber viewer setup tab and select the artwork files Half_A00.ART,Half_A02.ART and Half_A29.ART (multiple selection is possible) by clicking on the button Browse Artwork.

Now press View All and then press Apply button to display the gerber view of the selected artwork file.
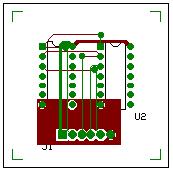
Once you are satisfied with the Gerber view, send the Gerber files to the Photoplotting house.