Changing Trace Width

Changing trace width manually
From project explorer→ double click on PCB Layout to open layout editor
SetGrid = 0.1000"
Snap = 0.0500"
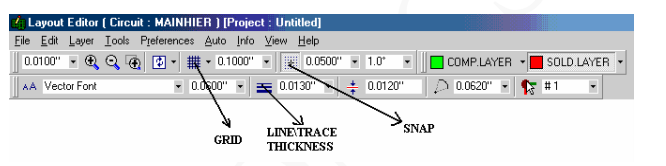
Select LINE\TRACE THICKNESS Change the trace thickness according to the required level.
Changing trace width automatically
Select Auto →Auto Router → Arizona
File →Load board to route from project
Select from Function toolbar Parameters Setup →Click on Routing Parameter Settings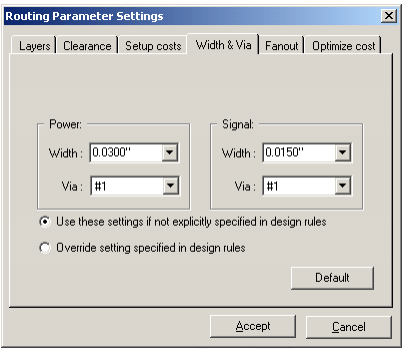
Click on Width&Via and select the width thickness and accept.
Now select Auto routing Routines from function tool bar → select Start Auto router
After completing select miter from option toolbar
Close the window → select Update Project and exit
Placing componentsUseful Tips while placing components
- Always place the components in grid.
- Always place components in the direction of current flow.
- Place the IC having maximum number of connections in the centre of the board.
- Place the connectors, transformers etc near to the edge of the board.